When I decided to install heat pump equipment at my 2003 Boise house, I started with the wrong question. I asked which brand had the best efficiency rating. The better question was whether my house, ductwork, electrical panel, and family schedule could support the change. A heat pump is simply an air conditioner that can run backward, moving heat instead of creating it with combustion or resistance wire. That simple idea works extremely well, but only when the installation is designed around the building.
My old gas furnace and central air conditioner were familiar, loud, and not especially smart. During the first winter, I tracked indoor temperature, outdoor temperature, furnace runtime, and electricity use in HouseOS, my Grafana dashboard. The data showed that comfort depended less on a famous logo and more on airflow, insulation, and control settings. That is the part many sales quotes skip.
Before you install heat pump equipment, check the house
Start with the envelope. A blower-door test is useful, but even a practical inspection can find obvious problems: attic insulation below the top of the joists, unsealed plumbing penetrations, loose duct connections, and supply registers blocked by furniture. If the house leaks air, the heat pump has to work harder for the same indoor temperature.
Next, review the existing ducts. A typical 1990s subdivision system may have enough capacity, but that is not guaranteed. Small returns, crushed flex duct, and long runs through a cold attic can create noise and poor room balance. Ask the contractor to measure airflow rather than simply connecting new equipment to the old metal. A room that was always chilly with the furnace will not magically become comfortable because the outdoor unit is newer.
Sizing deserves equal attention. An oversized system can satisfy the thermostat quickly, then shut off before it removes much humidity or distributes heat evenly. An undersized system may use backup electric heat during cold weather. A proper load calculation estimates the heat a room loses at a defined outdoor temperature. It is more useful than choosing equipment based on square footage alone.
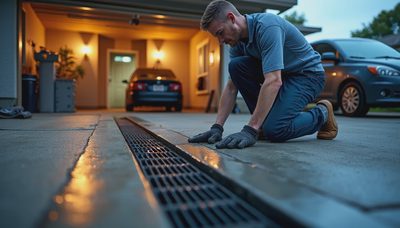
A qualified HVAC contractor should also inspect refrigerant lines, condensate drainage, disconnects, grounding, and the service panel. Homeowners should not handle refrigerant or line-voltage wiring as a weekend experiment. I am comfortable around electrical systems, but I still used a licensed electrician for the panel work and permitted HVAC professionals for the equipment.
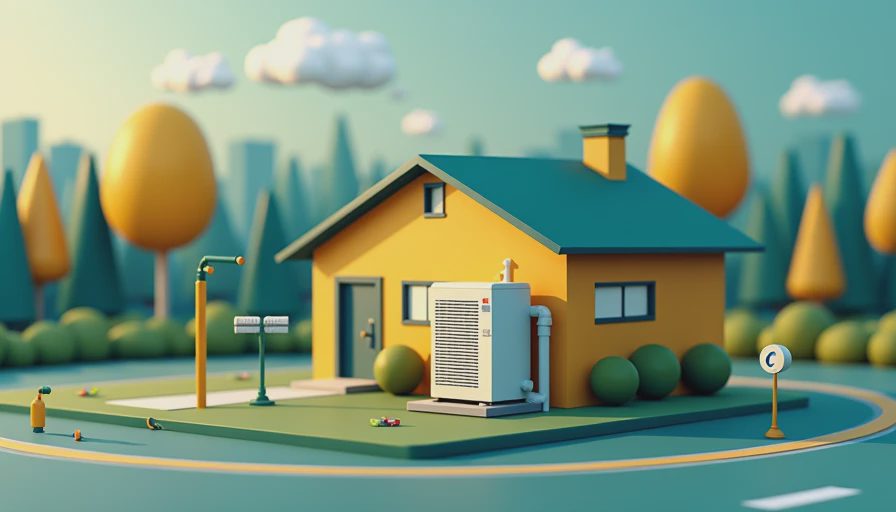
What it costs to install heat pump equipment
For a straightforward replacement, a central ducted heat pump project often lands somewhere around $8,000 to $16,000 before incentives. That range can rise when the job needs a new electrical feeder, duct repairs, a line-set replacement, a pad, wall penetrations, or extensive indoor air-handler work. A cold-climate system, dual-fuel setup, or multi-zone mini-split installation can move the total higher.
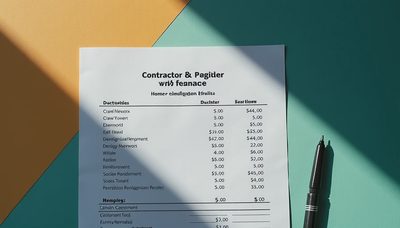
The quote should identify the outdoor unit, indoor coil or air handler, thermostat, electrical disconnect, refrigerant line work, condensate protection, permits, startup testing, and removal of old equipment. A one-line quote that says “heat pump replacement” makes comparison difficult. Two contractors can offer the same apparent capacity while including very different amounts of duct modification and commissioning.
In my case, the equipment and labor were not the smallest line item in the household energy plan. Air sealing and a return-air improvement came first. That work reduced drafts and helped the new system run longer at lower output. Longer, quieter cycles were a better comfort upgrade than chasing the highest seasonal efficiency number.
Incentives can change the math. Federal, state, utility, and manufacturer programs have different eligibility rules, income requirements, equipment lists, and application deadlines. Confirm the current rules before signing a contract, because a rebate advertised in an old blog post may no longer exist. I also priced the project using the after-incentive cost and compared it with furnace replacement, not with doing nothing forever.
How I install heat pump projects in a sensible order
The first step is documentation. Photograph the existing panel, thermostat wiring, equipment labels, duct transitions, and line-set route. Record the breaker size and available panel space. This takes fifteen minutes and prevents the classic problem of discovering on installation morning that a planned air handler needs a circuit nobody included in the quote.
The next step is preparation. Seal accessible ducts, fix disconnected insulation, and make sure the return path is adequate. If the new indoor unit is installed in a cramped closet, leave room for filter replacement and service access. A system that technically fits but cannot be maintained is a future expense disguised as a successful install.
During the installation, the contractor should evacuate and pressure-test the refrigerant circuit, verify airflow, confirm electrical connections, and measure temperature change across the indoor coil. The system should be commissioned in both heating and cooling modes when weather allows. Take pictures of model numbers and the final wiring. Keep the manuals, permit records, warranty information, and startup sheet in one folder.
My first mistake was treating the thermostat as an afterthought. The default setting used backup heat more aggressively than I expected. That made the dashboard look terrible on cold mornings. I adjusted the balance point and lockout settings with the installer, then watched the next several weeks of runtime. The goal was not to ban backup heat under every condition; it was to use it intentionally instead of accidentally.

What changes after you install heat pump equipment
Expect the sound and rhythm to be different. A furnace often delivers a short burst of very warm air. A heat pump usually runs longer with gentler airflow. That can feel strange for the first week, especially if the thermostat is set back dramatically overnight. Smaller setbacks usually work better because recovery can trigger expensive backup heat in some systems.
In my house, the main improvement was steadier temperature. The upstairs bedrooms stopped swinging several degrees between cycles, and the outdoor unit was quieter than the old air conditioner. Electricity use increased during heating season, as expected, while gas use fell sharply. The correct comparison is total heating cost, not the electric bill by itself. I track both utility accounts and separate heating from normal household loads as carefully as possible.
Controls should remain boring. A compatible thermostat, outdoor temperature sensor, and energy monitor are enough for most homeowners. Home Assistant can add useful visibility, such as a notification when auxiliary heat runs unusually long or when the system operates while a window sensor is open. Automation should expose a problem, not create one. If the family has to manage five scenes to stay comfortable, the system has failed its usability test.
Maintenance is straightforward: replace filters on schedule, keep the outdoor coil clear, inspect condensate lines, and arrange professional service according to the equipment requirements. Snow, leaves, cottonwood fluff, and ice can reduce airflow. Do not stack storage against the outdoor unit or build an enclosure that blocks the fan.
Should you install heat pump equipment now?
The answer depends on your climate, fuel prices, electrical service, house condition, and how long you expect to stay. Replacing a failed furnace in an emergency limits your choices, so plan while the existing system still operates. Get at least two detailed bids and ask each contractor to explain capacity, backup heat, duct changes, operating assumptions, and warranty service.
A heat pump is especially compelling when you also need air conditioning, have a reasonably efficient envelope, and want one system for heating and cooling. It is less compelling when the house has severe duct problems that nobody is willing to fix, when the panel cannot support the proposed design, or when a quote depends on rebates you have not verified.
My practical sequence is simple: measure the house, improve the envelope, size the equipment, verify the electrical work, commission everything, and then watch the data for a full season. Do not buy a badge and hope the numbers follow. Your house should work for you, not the other way around.

Letters
No letters yet — be the first to write.