If you want to install floor drain in garage space, the concrete cutting is only half the job. The real work is deciding where water should go, confirming that local plumbing rules allow the connection, and creating enough slope for reliable drainage. A garage drain can handle melting snow, a washed vehicle, or a leaking water heater, but a poorly planned one can also send oil, chemicals, and dirty water into the wrong place.
I looked seriously at adding one to my 2003 Boise garage after a winter storm turned the area around my brewing gear into a shallow pond. The project made sense, but only after I mapped the existing sewer lines and checked the finished floor height. Here is the process I would use now, including the expensive mistakes I would avoid.
Decide whether a garage drain solves the actual problem
Start with the water source. If snow is tracked in by two vehicles, a drain near the garage door may be useful. If water enters through a wall or rises through a cracked slab, a drain in the middle of the room will not fix the underlying problem. Correct grading outside, door seals, gutters, and downspout extensions should come first.
A floor drain also needs somewhere to discharge. Depending on your location, options can include a sanitary sewer connection, a storm drainage system, a dry well, or a sump basin. These are not interchangeable. Garage water can contain road salt, brake dust, antifreeze, oil, and cleaning chemicals, so some jurisdictions prohibit a direct connection to the sanitary sewer or storm system.
Call the building department and a licensed plumber before renting a concrete saw. Ask about permits, required trap primers, backwater protection, drain grate rules, and whether a garage drain must connect to an oil separator. A permit fee is usually modest compared with removing a newly poured slab because the inspector rejects the layout.
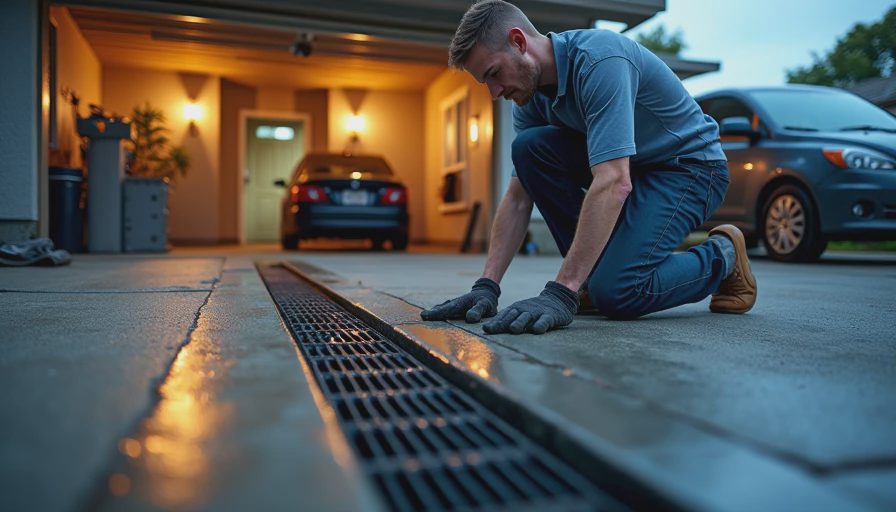
How to install floor drain in garage concrete
The basic sequence is straightforward, but each step depends on accurate measurements. First, locate underground plumbing, electrical conduit, gas lines, and post-tension cables. A utility locator is essential, and post-tensioned slabs require special caution because cutting a cable can cause severe structural damage.
Mark the drain location and the trench route. A typical drain needs a surrounding low point, while the trench must slope toward the approved outlet. For many garage floors, a slope of about 1/8 to 1/4 inch per foot is practical, but the final requirement comes from the drain design and local code. Use a laser level rather than trusting the existing slab; garage floors often have subtle slopes that are difficult to see.
Cut the concrete with a wet saw, break out the channel, and excavate enough soil for the pipe bedding. Install approved pipe with properly supported joints, then set the drain body at the finished-floor elevation. The drain grate should be flush with the concrete, not recessed where it becomes a tire trap or raised where it catches a snow shovel.
Before backfilling, test the pipe. Run several buckets of water through the line and check every joint. If the drain connects to a building sewer, a plumber may need to perform a more formal test. Photograph the open trench, pipe route, and connection. Those pictures are valuable later when you install shelving or forget exactly where the line runs.
Choose the right drain design
A simple point drain works when water naturally collects in one predictable location. It is compact and often less expensive, but it demands careful floor shaping. A trench drain is better along a garage door or across a wide entrance because its long grate catches water across the full opening. Brands such as NDS and ACO offer residential trench-drain systems, but the product must be rated for the expected vehicle load.
A standard drain body usually includes a trap to block sewer gas. If the trap can dry out because the drain is rarely used, a trap primer or regular maintenance routine may be necessary. Some homeowners pour water into the drain every few months, while others use a primer connected to a nearby plumbing fixture. Do not assume a removable grate is enough protection against odors.
For a garage with a water softener, furnace condensate, or utility sink, keep the drainage plan organized. Condensate lines need an approved air gap or indirect connection in many installations. Combining random discharge pipes into one improvised fitting is how small leaks become hidden slab problems.

Common mistakes that create bigger repairs
The most common error is placing the drain where the floor cannot actually slope toward it. A drain six inches from the wall does not help if the concrete falls away from that wall. A second mistake is ignoring the garage door threshold. Water may still run under the door before reaching the drain, especially during wind-driven rain.
Another problem is using an indoor grate or lightweight plastic fitting in a traffic lane. Check the load rating for cars, SUVs, and jacks. Protect the grate during concrete placement, and make sure the finished surface does not leave a sharp edge around it.
Never use a garage drain as a convenient disposal point for paint thinner, motor oil, antifreeze, or degreaser. Even where a connection is legal, these fluids belong in approved recycling or hazardous-waste channels. The drain should manage incidental water, not become a floor-level chemical sink.
Finally, do not skip exterior drainage. In my own project planning, moving a downspout extension and resealing the lower wall would have prevented more water than the drain itself. That is a good example of solving the symptom with technology while leaving the inefficient system untouched.
What the project costs
If the plumbing route and outlet already exist, a professional installation can sometimes land around $1,500 to $3,500. Cutting a long trench through a reinforced slab, adding a sump basin, or routing a new line to the sewer can push the project toward $4,000 to $8,000 or more. Costs rise with difficult access, permit requirements, concrete thickness, and restoration work.
Materials are not the entire budget. A drain body may cost $50 to $250, while a quality trench drain can cost several hundred dollars. Pipe, gravel, concrete, fittings, waterproofing, disposal, inspection, and labor often dominate the invoice. Get the quote to state whether testing, permit fees, concrete replacement, and final grading are included.
Ask for two prices: one for a basic point drain and one for a trench drain or sump-based design. The comparison reveals whether you are paying for genuine water control or simply a more attractive grate. If a contractor cannot explain the discharge path, stop there.
My practical recommendation
For a new build, planning a garage drain before the slab is poured is the easy win. For an existing garage, I would first correct roof runoff, seal the door, measure the slab slope, and confirm the legal discharge route. Only then would I install floor drain in garage concrete.
Use a trench drain when the entrance is the wet zone; use a point drain when the floor geometry naturally funnels water to one location. Hire a licensed plumber for the connection and a concrete contractor who understands finished-floor elevations. Take photos, keep the permit records, and schedule a quick grate and trap inspection each year.
A drain is useful infrastructure, not a magic button. Designed correctly, it keeps slush away from tools, protects stored materials, and makes garage cleanup far less annoying. Your house should work for you, not the other way around.




Letters
No letters yet — be the first to write.