Standing seam roof installation is one of those projects that looks simple from the driveway and becomes complicated the moment you study the details. The metal panels are clean, durable, and potentially useful for a solar-ready home, but the quality of the roof depends heavily on measurements, flashing, fasteners, and the crew doing the work. I have spent enough time around energy retrofits to know that a roof is not just a weather shell. It is the platform for insulation, ventilation, solar, and long-term maintenance.
What a standing seam roof actually is
A standing seam roof uses long metal panels whose vertical seams lock together and stand above the main roof surface. Most residential systems use concealed clips and fasteners rather than screws driven through the exposed face of every panel. That distinction matters. Exposed fasteners can loosen as metal expands and contracts, while a properly designed concealed-fastener system allows the panels to move without turning every screw hole into a future leak point.
Common materials include painted steel, aluminum, and zinc. Galvalume steel is popular because it balances price and corrosion resistance, while aluminum makes more sense near saltwater or on certain low-slope applications. Paint finishes from manufacturers such as Sherwin-Williams, PPG, and AkzoNobel can last for decades, but the substrate, coating specification, and installation details matter more than a color brochure.
A typical residential project costs roughly $10,000 to $30,000, depending on roof size, pitch, tear-off requirements, metal type, insulation work, and local labor. A small, simple roof might come in below that range; a complex roof with valleys, dormers, skylights, and chimney flashing can climb substantially higher.

Planning standing seam roof installation around energy upgrades
The best time to plan standing seam roof installation is before the roofing crew arrives. If you are considering solar panels, attic insulation, a heat-pump water heater, or an electrical service upgrade, coordinate those projects first. Removing a new metal roof later to repair decking or install poorly planned solar attachments is an expensive version of learning the hard way.
Start with a roof inspection. The contractor should document the decking condition, existing underlayment, roof pitch, penetrations, drainage, and attic ventilation. If the sheathing has soft spots, replacing it during the project is far cheaper than discovering rot after the panels are installed. Ask whether the roof design needs high-temperature ice-and-water protection around valleys, eaves, walls, and penetrations.
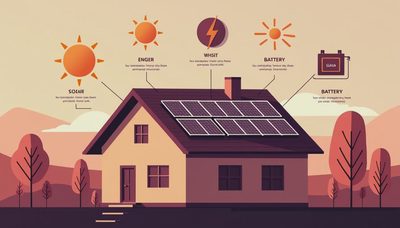
Standing seam roof installation can also improve the performance of a solar array, but the attachment method has to be selected with the panel layout. Some solar racking systems clamp directly to the seams, avoiding roof penetrations. That can be a clean solution, yet the seam profile must be compatible with the clamp, and the installer must verify that the panel loads are transferred correctly. A roofer and solar contractor should not work from separate guesses.
The details that separate a good install from a leak factory
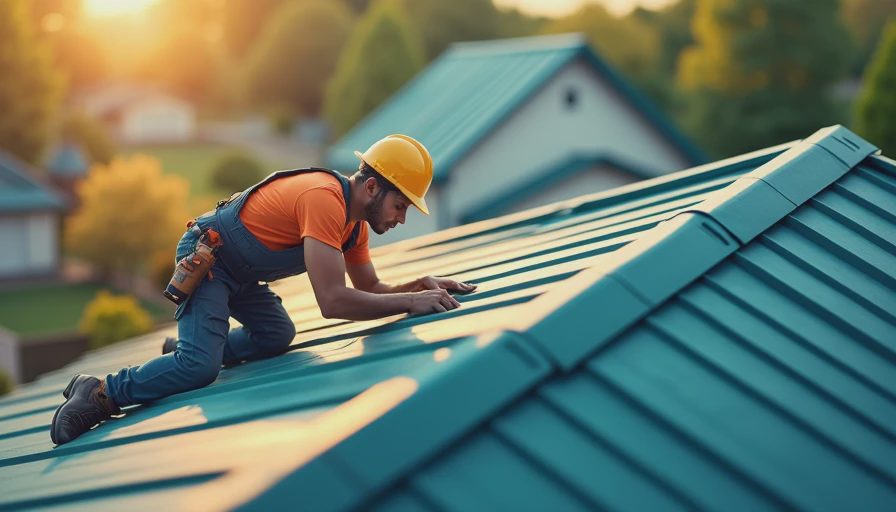
During standing seam roof installation, the crew should establish straight panel lines from the roof edge instead of hiding layout errors behind trim. Panels need room for thermal movement, especially on long south-facing roof sections that can become extremely hot in summer. Clips, seams, and fasteners should follow the manufacturer's spacing requirements rather than an improvised pattern.
Flashing deserves more attention than the shiny panels. Look closely at sidewalls, headwalls, valleys, chimneys, skylights, plumbing vents, and roof-to-wall transitions. A beautiful field of metal cannot compensate for a poorly flashed chimney. The contractor should explain how each penetration is sealed and how water is directed around it. Sealant is a backup detail, not a substitute for correctly shaped metal flashing.
Underlayment is another quiet but important layer. Synthetic underlayment is common, while high-temperature membranes are often specified in vulnerable areas. The roof assembly also needs a plan for ventilation. More ridge vents are not automatically better if soffit intake is blocked by insulation. Air should enter at the eaves, move through the intended attic channel, and exit at the ridge or another designed location.
Comparing metal roofing with asphalt shingles
A standing seam roof generally costs more upfront than architectural asphalt shingles. A typical shingle replacement might run about $6,000 to $18,000 on many American homes, while metal commonly starts higher. The comparison becomes more useful when you include service life, maintenance, tear-offs, and future solar work.
Architectural shingles can provide 20 to 30 years of service under ordinary conditions, although severe weather and poor ventilation shorten that timeline. A quality metal roof can last 40 years or more when the coating and details are sound. Metal is not immune to damage: hail can dent some panels, incompatible metals can accelerate corrosion, and careless foot traffic can deform seams or flashing.
For energy performance, neither material magically lowers a utility bill. Roof color, attic insulation, air sealing, ventilation, and solar exposure matter more. A light-colored metal roof can reduce summer heat absorption, but the attic assembly still needs to be built correctly. In my own retrofit work, sealing attic bypasses and adding insulation usually produces a more measurable comfort improvement than swapping one roof color for another.
Questions to ask before signing the contract
Before approving standing seam roof installation, request a written scope that names the panel material, thickness, finish, seam profile, underlayment, trim, flashing, ventilation work, and warranty terms. Ask whether the price includes removal and disposal of the old roof, replacement of damaged decking, permits, gutters, and final cleanup. A low bid often becomes less attractive when these items appear as change orders.
Ask for proof of general liability and workers' compensation coverage, along with references for comparable roofs. You want examples with similar pitch and complexity, not only a photograph of a simple garage. Find out who performs the work, who handles warranty claims, and whether the contractor is approved by the metal manufacturer. Manufacturer warranties commonly cover finish performance or material defects, while workmanship coverage comes from the installer; those are separate promises.
Get at least three detailed bids. Compare the assemblies line by line instead of choosing the lowest total. One contractor may include a high-temperature membrane and new flashing while another assumes the existing details are reusable. The difference can easily be several thousand dollars, but it can also determine whether the roof performs for decades.
A practical installation timeline and maintenance plan
For a straightforward house, standing seam roof installation may take several days to two weeks, depending on weather, crew size, roof geometry, and whether the old roof must be removed. Material ordering can take longer than the field work, particularly for custom colors, unusual seam profiles, or busy construction seasons.
During construction, keep an eye on the exposed decking before it disappears. Photograph the roof penetrations, underlayment, clips, and flashing before final trim is installed. Those pictures are useful for future solar planning and warranty conversations. After completion, inspect the attic during the next heavy rain. Look for damp insulation, daylight around penetrations, and signs of condensation rather than assuming a new roof is automatically perfect.
Maintenance is usually modest. Clear leaves from valleys and gutters, trim branches that rub the finish, and avoid walking on panels unless the manufacturer provides a safe procedure. Do not mix copper, lead, galvanized steel, and aluminum casually; incompatible contact can create galvanic corrosion. If a vent or satellite mount must be added later, have a roofer design the penetration instead of sending a general handyman onto the roof with a tube of caulk.
Standing seam roof installation is a strong option when you value longevity, clean solar integration, and fewer exposed fasteners. It is not the cheapest roof, and it will not replace attic insulation or air sealing as an energy strategy. Treat it as part of a larger building plan: inspect the structure, coordinate solar and electrical work, demand detailed flashing, and select the crew as carefully as the metal. Your house should work for you, not the other way around.


Letters
No letters yet — be the first to write.