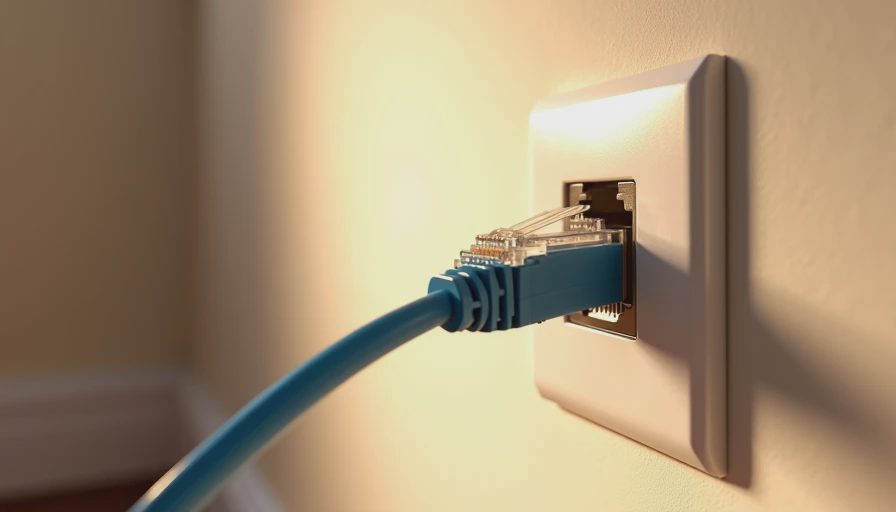
The Day I Decided Wi-Fi Was No Longer Good Enough
Every house reaches a point where Wi-Fi stops being charming. For us it was the combination of a growing number of hard-wired preferences—the Home Assistant host, the network rack, a couple of reliable access points, and a future camera or two—and the simple fact that 2.4 GHz through three layers of 2003 construction was becoming a daily annoyance. I wanted real Ethernet drops in a few key locations without turning the house into a construction zone or giving Taryn a permanent reason to revoke my tool privileges.
This is the practical story of pulling Cat6 through finished walls and ceilings in an ordinary two-story subdivision house. No open framing, no unfinished basement shortcut for every run, and no “just use mesh” resignation. The goal was clean, permanent cable with the smallest possible drywall footprint and zero relationship damage.
Your house should work for you, not the other way around. Sometimes that means putting the bits on copper instead of hoping the air will cooperate.
Planning Beats Fishing—Every Single Time
The biggest mistake people make is opening a wall before they know the path. I spent an evening with a cheap endoscope, a stud finder, and the original floor plans (such as they were) mapping every potential route. The winning paths used existing closet corners, the chase beside the plumbing stack, and a short section of unfinished attic rather than trying to snake through insulated exterior walls.
I marked every proposed drop with blue painter’s tape and walked Taryn through the plan before any drywall was cut. That single conversation prevented the most common failure mode of home networking projects: the surprise hole in a freshly painted hallway.
Cable choice was straightforward. Solid-copper Cat6, properly rated, in lengths long enough to leave service loops at both ends. I avoided the bargain no-name reels; the difference in jacket stiffness and pair integrity shows up the moment you try to pull around a tight corner.
The Actual Pulls and the Drywall Reality
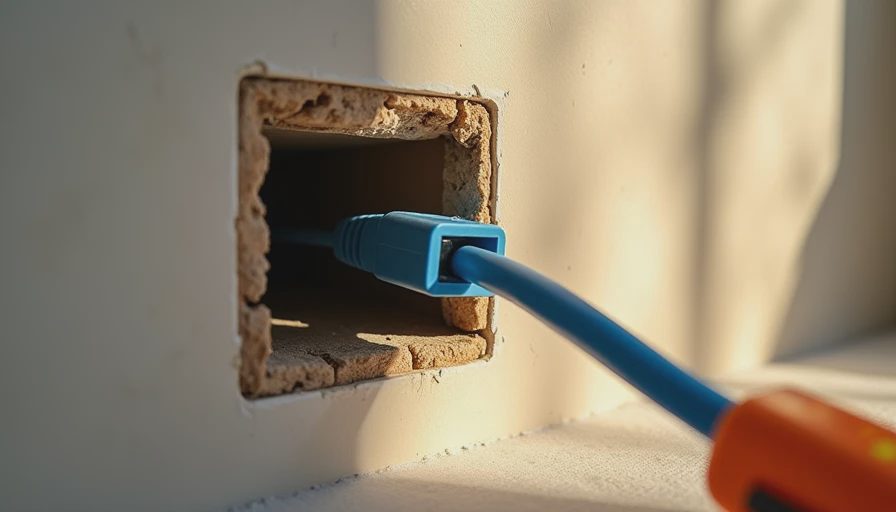
Most runs started in the basement network rack, went up through a drilled top plate inside a closet, then across the attic or through an interior partition. Where I had to exit a finished wall I used a single-gang low-voltage bracket and a keystone jack. The drywall cut was only large enough for the bracket—no explorer holes, no “I’ll patch it later” rectangles.
Fishing rods and a flexible drill bit did most of the work. Glow rods helped when the path had to turn a corner inside a wall cavity. In one particularly stubborn upstairs drop I used a chain and magnet combo to bridge a short gap; it felt ridiculous and worked perfectly.
Every time cable emerged into living space I vacuumed the dust immediately and kept the cutout pieces labeled so the patch would match thickness and texture. I did not try to make the final wall repair look invisible on day one. I made it solid and flush, then let the paint and texture work happen on a later weekend when the networking adrenaline had faded.
The longest single pull took the better part of an afternoon and required two short attic crawls. The shortest took twenty minutes and used an existing closet chase. Average time per finished drop, including termination and testing, landed around ninety minutes once the routes were known.
Termination, Testing, and the “It Just Works” Moment
I terminated every end on keystone jacks with a proper punch-down tool and verified each run with a simple cable tester before closing anything up. No surprises, no intermittent pairs. The Home Assistant machine, the primary access point, and the garage workshop drop all came online cleanly. Latency graphs flattened. The “why is the camera buffering again” conversations stopped.
One small but important detail: I left a pull string in every major path. Future me (or future homeowners) will be able to add another cable without repeating the fishing expedition. That single piece of nylon cord is the cheapest insurance I have ever installed.
What I Would Tell Anyone About to Cut a Hole
Measure twice, cut once is still the rule, but the more useful version is “map three times, cut once.” Know what is inside the wall. Know where the cable will exit. Know how you will patch it before you make the first cut.
Work in closets and utility spaces whenever possible. A hole inside a closet is far less emotionally expensive than a hole at eye level in the hallway.
Tell the rest of the household the plan and the expected mess before you start. Surprise drywall dust is relationship poison; planned drywall dust is just a project.
Test every run before you put the tools away. Finding a bad pair after the wall is closed is a special kind of regret.
Finally, accept that perfect invisible patches take practice. A solid, painted, slightly visible patch that delivers reliable gigabit Ethernet is still a win.
The Quiet Aftermath
The new drops have been boring in the best possible way. No dropouts, no renegotiating Wi-Fi channels, no more “can you restart the access point” texts. The network rack looks a little more intentional. The house feels more finished on the technology side without looking like a data center.
I still use Wi-Fi for phones and the occasional laptop. The things that need to be reliable—automation host, primary access points, future fixed cameras—now sit on copper. That division of labor has been one of the highest-leverage changes in the whole smart-home and energy project.
Running Ethernet through finished walls is not glamorous. It is careful, dusty, and occasionally frustrating. Done with a plan and a bit of restraint, it is also completely achievable without turning the house upside down or the marriage into a negotiation.
Your house should work for you, not the other way around. Reliable cable is one of the quiet ways that happens.
Letters
No letters yet — be the first to write.