A diy solar panel system for home projects can reduce your electric bill, but it is not a weekend exercise in bolting panels to a roof. You are designing a small power plant, connecting it to a building, and asking the utility to accept electricity from your equipment. That combination rewards careful planning and punishes casual shortcuts. I like the technology, but I like a clean inspection and a working roof even more.
The sensible approach is to do the research, energy audit, equipment selection, racking layout, and monitoring yourself, then bring in a licensed electrician for work that involves the service panel, utility interconnection, or final sign-off. That still leaves plenty of hands-on work while keeping the dangerous and regulated pieces where they belong.
Start with the electric bill, not the roof
Before pricing panels, collect twelve months of utility bills. Record total kilowatt-hours, monthly charges, and any time-of-use rates. A house that uses 900 kilowatt-hours in July but only 450 in January has a different design problem from a home with steady year-round usage.
My own 2,400-square-foot Boise house used roughly 11,000 kilowatt-hours in a year before we added a heat pump water heater and more insulation. That number, not the square footage, became the starting point for HouseOS. I also separated normal consumption from future loads. An electric vehicle, induction range, or heat pump can add several thousand kilowatt-hours annually, so installing solar before deciding on those upgrades can leave you undersized.
A typical solar panel produces between 350 and 450 watts under ideal conditions. A 7-kilowatt array might contain sixteen to twenty panels, depending on the model. Annual production depends on roof direction, tilt, shade, weather, and local utility rules. Use a reputable solar calculator or a contractor proposal to estimate production rather than multiplying the panel label by daylight hours.
A useful first pass is to compare expected annual production with annual consumption. Replacing 100 percent of your usage is not always the best financial target. Fixed utility charges, export-credit rules, winter shading, and a future battery can make a smaller array more practical.
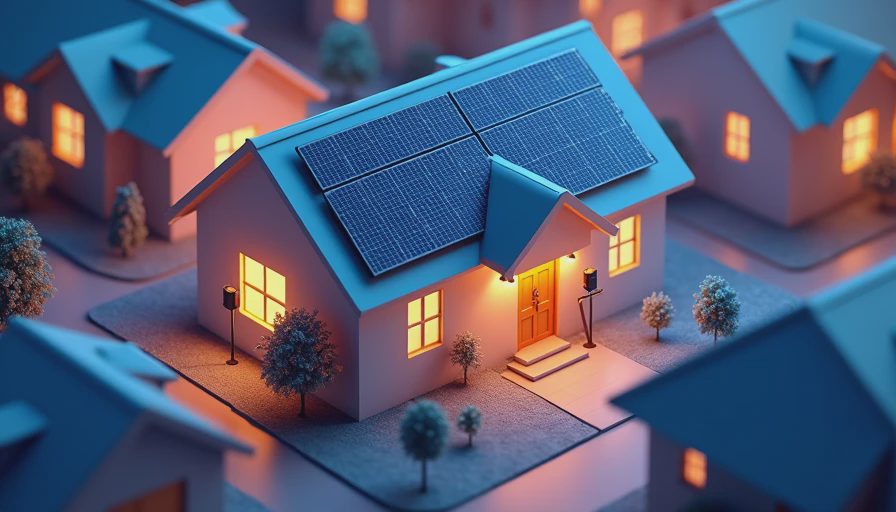
What a diy solar panel system for home actually includes
The panels are only one part of the system. You also need racking or roof attachments, flashing, wiring, connectors, rapid shutdown equipment, an inverter, grounding and bonding components, disconnects, labels, and monitoring. Microinverters sit behind individual panels, while a string inverter handles power from several panels together. Each approach has tradeoffs.
Microinverters can perform well on roofs with multiple orientations or partial shade because each panel operates independently. A string inverter is often simpler and less expensive for an unshaded roof with one dominant direction. Products from Enphase, SolarEdge, and SMA are common examples, but compatibility matters more than logo loyalty. The inverter must match the array design, local electrical requirements, and utility approval process.
A battery is optional. It can shift solar energy into the evening, provide backup power, and reduce exposure to certain peak rates. It also adds several thousand dollars to a project and requires additional controls. If your main goal is bill reduction, start by modeling the array without storage. If your goal includes backup, decide which circuits matter: refrigerator, internet equipment, gas furnace controls, lights, and a garage door opener are very different from central air conditioning and an electric range.
Roof, wiring, and permit checks
Inspect the roof before buying equipment. Solar panels can last twenty-five years or more, so installing them on shingles with five years of useful life creates an expensive removal and reinstallation problem. Look for roof age, attic moisture, structural damage, vent locations, and chimney shade. A structural review is especially important for older homes or roofs with unusual framing.
Next, map the electrical system. Photograph the main service panel, identify its amperage rating, and note open breaker spaces. A 100-amp panel may need a service upgrade, while a 200-amp panel may still need a load calculation. Solar backfeed rules are not simply a matter of finding an empty slot. The bus rating, breaker placement, conductor size, and equipment labeling all matter.
Permits and utility approval are part of the design, not paperwork to handle afterward. Most jurisdictions require an electrical permit, and many require structural or building documents. The utility usually wants a one-line diagram, equipment specifications, an interconnection application, and an inspection before allowing the system to operate in parallel with the grid.
That process is where many ambitious DIY plans stall. Buying panels before confirming the approved equipment list can leave you with components the utility will not accept. Call the building department and utility first, download their current forms, and build your design around those requirements.

Realistic costs and payback math
For a grid-tied system, equipment and installation costs can range widely, but a homeowner doing substantial preparation may save several thousand dollars in labor. A modest 6-kilowatt system can still require roughly $10,000 to $18,000 before incentives, depending on roof complexity, inverter choice, electrical upgrades, and local labor. A battery can add around $8,000 to $15,000 installed, sometimes more for multiple units or extensive backup circuits.
Do not calculate payback from the retail price of panels alone. Include racking, conduit, wire, breakers, permit fees, inspection corrections, monitoring, roof work, and the value of your time. A $14,000 array that offsets $1,200 of annual electricity has a simple payback near twelve years before financing, maintenance, incentives, and utility-rate changes. That is useful math; promising a five-year payback without showing assumptions is not.
Federal incentives have changed over time, and eligibility depends on current law and project details. Verify the available federal tax credit with IRS guidance or a qualified tax professional. State, utility, and manufacturer incentives can have separate deadlines and equipment rules. Treat any incentive as a bonus in your comparison until you confirm that you qualify.
Where DIY makes sense and where it does not
A diy solar panel system for home work makes the most sense when you are comfortable with planning, documentation, roof layout, data analysis, and project management. You can measure shade, compare proposals, model production, assemble approved racking where allowed, and configure monitoring. Those tasks can materially reduce project cost without putting energized conductors in your hands.
I am much less enthusiastic about a homeowner improvising roof anchors, making unapproved connector combinations, or working inside a live service panel. DC arcs can be difficult to extinguish, and a mistake can create shock, fire, or equipment-damage hazards long after the tools are put away. Use proper fall protection, follow manufacturer instructions, and have an electrician perform or inspect regulated electrical work.
A hybrid plan is often the best value: you handle the audit, design research, permitting coordination, and monitoring, while a qualified installer handles roof penetrations, service-panel connections, testing, and utility activation. Get the division of labor in writing before work begins.
Monitoring the system after installation
The project is not finished when the utility meter starts running backward. Set up the inverter dashboard and compare production with your forecast each month. A sudden drop can point to shade from a new tree, a tripped breaker, failed communications, or an inverter fault. Circuit-level monitoring through devices such as Emporia Vue or Shelly hardware can show whether the solar is offsetting water heating, cooling, or an always-on load.
I track array production, household consumption, grid imports, and exports in Grafana. Taryn mostly wants the monthly bill; I want to know why the heat pump water heater ran during a cloudy afternoon. Both views are useful. The data can reveal that changing a schedule saves more money than adding another panel.
A well-planned diy solar panel system for home installation should make the house easier to operate, not create a second job that demands daily attention. Start with measured usage, confirm the roof and panel, follow the permit path, and price every component. If the numbers still work after those checks, move forward confidently. Your house should work for you, not the other way around.


Letters
No letters yet — be the first to write.