How to Setup Home Assistant Without Losing Your Mind
If you're ready to setup home assistant, you're probably tired of your smart home feeling like five different apps fighting each other. I've been there. As a former network engineer, I thought the setup home assistant would be trivial. It wasn't. But after retrofitting my 2003 Boise house with circuit-level monitoring, smart thermostats, and a custom fermentation chamber controller, I can tell you exactly how to do it right.
This guide walks through the full setup home assistant process on a Mini PC, the hardware I recommend, and the automations I actually use daily. No brand-ecosystem hype, no affiliate gadget farming. Just the steps that worked for me and the mistakes I made along the way.
What Home Assistant Is (and Isn't)
Home Assistant is an open-source home automation platform that runs locally on your own hardware. Unlike cloud-dependent hubs, it talks to devices from dozens of brands — Zigbee, Z-Wave, Wi-Fi, Matter — and keeps your data in your house. The setup home assistant requires a little patience, but the payoff is real.
The key distinction is local control. When your internet goes down, your smart bulbs still work. That's what sold me. I also like that it doesn't send your usage data to a server in another state. You can build automations with a visual editor or with YAML code, depending on how nerdy you want to get.
The Hardware You'll Need
To setup home assistant, you need a device to run it, a radio to talk to your sensors, and a way to manage it. My pick: a used Intel NUC from eBay ($100–$150) or a Raspberry Pi 5 with 8GB RAM ($80). Add a Sonoff Zigbee 3.0 USB dongle ($20) and a decent 32GB microSD card. Skip the cheap USB Wi-Fi adapters — get an Ethernet cable, because a stable network is the backbone of this thing.
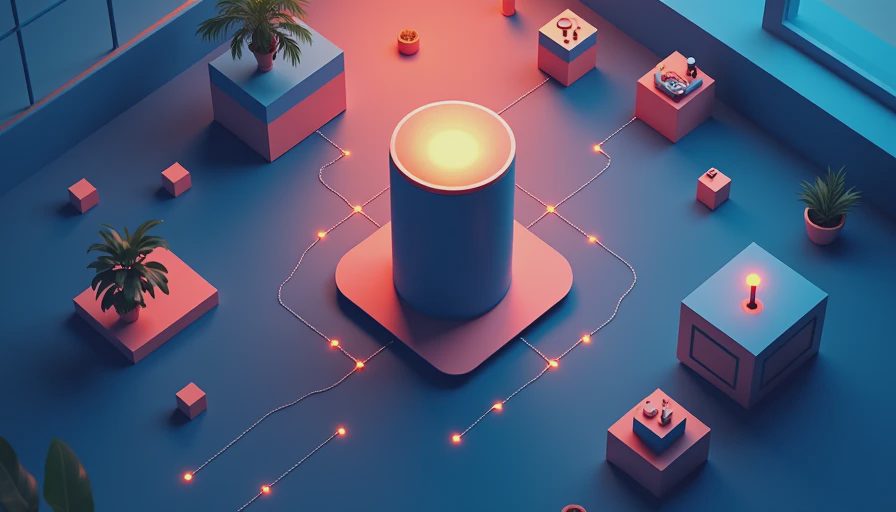
You don't need a server rack. A few hundred dollars of used hardware handles a whole house. My first install ran on a Raspberry Pi 4 for a year before I moved it to a NUC. The Pi handled 30 Zigbee devices fine, but the NUC gives me more headroom for camera streams and voice assistants.
Step-by-Step: The Actual Setup Home Assistant Process
Here's the workflow I use every time I setup home assistant for a new install.
First, flash the Home Assistant OS image to your microSD or SSD using Balena Etcher. Second, boot the device and connect it to Ethernet. Third, find the device on your network at http://homeassistant.local:8123 and complete the onboarding wizard. Fourth, create a user account, set your location, and let it scan for devices. This is where most people get stuck — the discovery phase. Home Assistant will find some devices automatically, but you'll still need to pair your Zigbee coordinator first.
Plug in the Sonoff dongle, go to Settings, Devices, Add Integration, and search for ZHA. Use the default coordinator profile. Then put your Zigbee devices into pairing mode one at a time. Name them immediately — trust me, you don't want to rediscover which sensor is which after you've added sixteen of them.
After the basic setup home assistant finishes, install the integrations you need. For me, that's the Ecobee integration for my thermostat, the ESPHome integration for my custom ESP32 power monitors, and the WLED integration for the garage LED strips. You can also install HACS, the Home Assistant Community Store, to get custom dashboards and add-ons.
My First Automations (and Why They Matter)
Once it's running, the fun begins. My first automation was simple: turn on the bedroom lights at sunset and turn them off at 11 PM. Taryn thought it was a gimmick until she stopped reaching for the light switch. The second automation was more useful: if the front door is open for more than five minutes and nobody's home, send a notification to my phone. That one caught a leaky door seal before it spiked my heating bill.
The best automation I built this year is the fermentation chamber controller. I run a temperature sensor and a reptile heater in an old mini-fridge, and Home Assistant keeps my homebrew IPA at exactly 68 degrees. The kids think it's a science experiment.

Common Setup Mistakes (and How to Avoid Them)
This process has a few traps. The first is choosing the wrong boot drive. Use an SSD rather than a microSD card if you can swing it. MicroSD cards wear out faster because of constant writes. My first card died after seven months. The second mistake is skipping the Zigbee coordinator details. Some cheap dongles are finicky with USB 3.0 ports due to interference. Put the dongle on a USB 2.0 extension cable and keep it away from the router.
Another mistake is trying to integrate every device at once. Start with three or four devices that matter to you. Expand only when you understand how automations behave in your house. And back up your config. The built-in backup tool is not optional. I lost a week of automation changes once because I forgot to back up before updating the OS. That was not fun.
The Cost Picture
You can get started for about $100 if you use a Raspberry Pi and a Zigbee dongle. A used NUC with more power will run you $150–$200. That's a one-time cost. Compare that to $10–$20 a month for cloud-based smart home subscriptions, and the local setup pays for itself in a year. I also save about $30 a month on my electric bill because of automations that turn off phantom loads and optimize my heat pump schedule. Your mileage may vary, but the ROI is there.
Final Thoughts
This whole journey is worth the effort. It gives you a smarter home that answers to you, not to a server farm. Start small, use good hardware, and don't be afraid to break things. Your house should work for you, not the other way around.


Letters
No letters yet — be the first to write.