Your house should work for you, not the other way around. That's the whole reason anyone searches for how to setup home assistant in the first place. You want the lights to turn off when the kids leave their rooms. You want the heat pump to run on cheap electricity overnight. You want a dashboard on the kitchen counter that tells you the garage door is actually closed. I get it — I've been running my own Home Assistant instance since 2022, and I've helped neighbors and clients get theirs going without losing a weekend. Here's the honest version of the process, not the one that starts with a Raspberry Pi and ends with six hours of YAML debugging.
What You Actually Need Before You Start
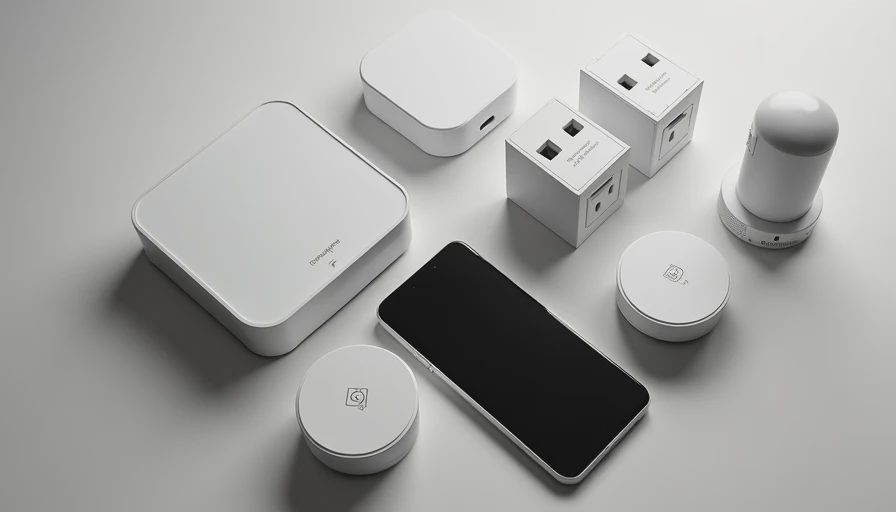
This is where most people quit before they even open a browser. They think they need a server rack, a PoE switch, and a degree in embedded Linux. You don't. For a typical 2,000-square-foot house with a handful of smart devices, any of these will run Home Assistant just fine:
A used mini PC with an Intel Celeron or better, 4 GB of RAM, and a 128 GB SSD — around $80 to $150 on eBay or Amazon. I run mine on a Dell OptiPlex Micro that I got for $95. It idles at 8 watts.
A Raspberry Pi 4 or 5 with a good SD card (actually, use an SSD — you'll thank me later). This works, but expect to pay $60-$90 and deal with occasional SD card corruption.
An old laptop you already own. The only catch is leaving it open and plugged in, which is ugly in a closet.
You also need a Zigbee or Z-Wave USB stick if you want to connect battery-powered sensors and locks. I use a Sonoff Zigbee 3.0 dongle, which costs about $20 and handles my entire house. And you need a stable network — Wi-Fi alone will work, but Ethernet is better for a device that's always talking to your house.
Step 1 — Pick Your Installation Method (or Skip It)
The official way is to flash Home Assistant OS onto a dedicated machine. It's the cleanest path for most people. You download the disk image, write it to a USB drive or SSD using a free tool like Balena Etcher, plug it into the machine, and boot. If you've ever installed Windows, you can handle this.
The other path is running Home Assistant in Docker on a server you already use. This makes sense if you're already running something like Proxmox or Unraid and want to keep your garage home server doing multiple jobs. But be honest with yourself: the 'real tech' route costs you time. For every tutorial that assumes Docker, there's a forum post in a rabbit hole. My advice is to install Home Assistant OS and move on. You can always migrate later. No matter which route you pick, the goal of how to setup home assistant is the same: get the core system stable first, then add complexity later.
Step 2 — Your First Boot and the IP Address Hunt
Once the machine boots, the Home Assistant web interface shows up at http://homeassistant.local:8123. Except it often doesn't show up on your phone because of mDNS issues. Save yourself the headache: log into your router, find the DHCP lease list, and look for a device named 'homeassistant'. Grab that IP address, type it into your browser with port 8123, and you're in.
Setup takes about 10 minutes — you create an account, name your house, and tell it your time zone. Then the system does a quick scan of your network and finds anything already broadcasting, like your TP-Link Kasa plugs or your Life360 phones. The first time you see it auto-discover things, you'll feel like Tony Stark for about four minutes.
Step 3 — Add Your First Smart Device and Build One Automation
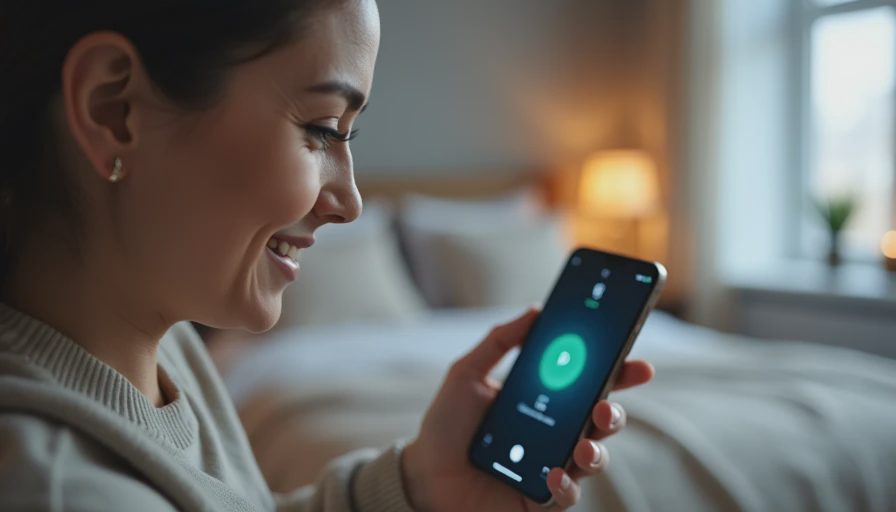
The fastest win is a smart switch on a load that you always forget. For me it was the porch light. I installed a Kasa smart switch (about $15) and added the Home Assistant integration. Within 15 minutes, I had an automation that turned the porch light on at sunset and off at 11 PM. The automation editor is all point-and-click — no YAML required. You pick a trigger ('sunset'), an environment ('porch light'), and an action ('turn on'). Home Assistant writes the yaml for you, but you never have to look at it.
Start with one automation that makes your life measurably better. For a client with a heat pump, I set up a simple thermostat automation: when the electricity rate drops to the off-peak tier, the thermostat pre-heats the house 2 degrees. That one automation paid for the smart thermostat in one season. You won't want to automate everything at once — and honestly, you shouldn't. Home Assistant is the only platform where you can go as deep as you want, but you don't have to swim in the deep end on day one.
Common Mistakes That Waste Your Weekend (And How to Dodge Them)
I've watched a lot of people quit at 2 AM over small things. The first mistake is using a wireless SD card for the Pi and then wondering why the whole system becomes read-only a year later. Use an SSD if you can. The second mistake is trying to give Home Assistant a static IP by editing files on the device instead of just reserving the address in your router. The third is starting with a bunch of Zigbee devices from five different manufacturers and expecting them to all pair without a compatible coordinator.
The mistake I made was buying a cheap Zigbee USB stick that didn't support the latest Zigbee spec. Every other sensor would pair and then disappear. I replaced it with a Sonoff dongle and the problem vanished. So if you see flaky behavior, suspect the adapter first, not the sensors. And give yourself a time budget. If an integration isn't working after 30 minutes, stop and search the Home Assistant forums. Someone has hit it before you.
The Bottom Line: Start Small, Automate One Thing at a Time
Here's the thing about how to setup home assistant: it's not a project you finish in one weekend, and that's what makes it fun. The best installs I've seen are the ones that grew organically — one smart switch here, one leak sensor there, one dashboard widget after another. Your house should work for you, not the other way around. So start with the hardware you already own, pick one annoyance to fix, and let Home Assistant grow with you. If you follow the steps above, you'll be up and running in about an hour. Not bad for a system that can eventually keep your whole house humming — or at least turn off the kids' lights.


Letters
No letters yet — be the first to write.