When homeowners search for diy solar panels for home, they usually want the same thing I did: lower electric bills without turning a sensible upgrade into a second mortgage. I understand the appeal. Solar equipment is easier to buy than it was a decade ago, monitoring apps are polished, and online videos make a roof installation look like a long weekend with a drill. The reality is more specific. You can do useful parts of the project yourself, but the electrical, structural, permitting, and utility requirements deserve serious respect.
My own approach is to treat a solar array like a small home network. First, measure what enters and leaves the house. Then design capacity around real demand, document every connection, and build in a safe failure mode. Your house should work for you, not the other way around.
What you can realistically do yourself
The most approachable DIY tasks are planning and preparation. Pull twelve months of utility bills, record your annual kilowatt-hour use, and note whether your biggest loads run during the day or evening. A plug-in energy meter can help identify refrigerators, freezers, well pumps, and office equipment that run constantly. Smart-meter data is even better when your utility provides hourly usage.
You can also inspect roof age, measure usable roof sections, photograph the main electrical panel, and compare shade at 9 a.m., noon, and 3 p.m. across different seasons. A roof with ten years of life left is a poor place for a new array because removing panels for a reroof adds labor. Solar installers often charge roughly $2.50 to $4.50 per watt before incentives, while hardware-only packages can look dramatically cheaper. That gap includes engineering, roof work, permits, insurance, commissioning, and someone responsible when a connection fails.
The line I would not casually cross is live electrical work. Mounting equipment on a garage roof is not the same risk as landing conductors in a service panel. A mistake can cause an arc flash, fire, equipment damage, or an unsafe system that the utility will refuse to connect.
Understand the numbers before buying panels
A typical American home might use 8,000 to 12,000 kilowatt-hours per year, but that range is only a starting point. Electric heating, a heat-pump water heater, an electric vehicle, and a large family can push consumption much higher. In Boise, my summer production is strong, while short winter days and heating demand make annual balance more important than a single impressive July screenshot.
A rough design begins with annual usage divided by expected production per installed watt. A 6-kilowatt array might produce somewhere around 8,000 to 10,000 kilowatt-hours annually in a favorable location, but roof direction, snow, smoke, shading, and local weather change the result. Ask for a production estimate based on your actual roof rather than copying a neighbor's panel count.
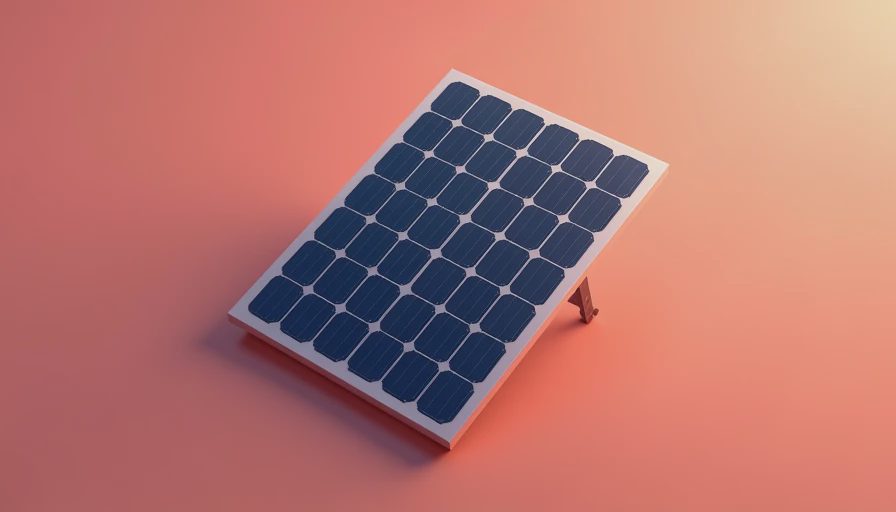
For diy solar panels for home, equipment might include panels, roof attachments, rail or a mounting system, rapid-shutdown devices, an inverter, wiring, labels, monitoring hardware, and balance-of-system components. A hardware package can cost $10,000 to $18,000 for a modest array, before labor and possible battery storage. A professionally installed system may cost more but can include design, warranties, permitting, and utility coordination. The federal residential clean energy credit has historically offered a 30 percent credit for qualifying expenses, but tax rules and eligibility can change, so verify current guidance before putting it into your spreadsheet.
Panels are only one part of the system
New homeowners often focus on panel wattage because it is easy to compare. The inverter is just as important: it changes the panels' direct-current output into alternating-current power used by the house. String inverters connect multiple panels together, while microinverters place conversion hardware at individual panels. Neither is automatically best. A shaded roof section may benefit from panel-level optimization, while a simple unshaded roof can make a string design attractive.
The roof attachment system also matters. Flashing has to protect penetrations from water for decades, not merely survive the installation day. Roof structure must support the added load and wind forces. Ground-mounted panels avoid some roof concerns but need space, trenching, and a structure engineered for local conditions.
Batteries add another layer. They can keep selected loads running during an outage and shift solar energy into evening hours, but they often add $8,000 to $20,000 or more depending on capacity, installation, and controls. If your goal is bill reduction, compare battery payback with simpler options such as load shifting, a heat-pump water heater schedule, or charging an electric vehicle during solar production.
Permits, inspections, and utility approval are not optional
The phrase diy solar panels for home does not mean the system can bypass local rules. Most jurisdictions require an electrical permit, and roof-mounted systems may need structural review. Your utility normally requires an interconnection application before the system can export power. Approval may involve a one-line diagram, equipment specifications, rapid-shutdown details, and proof that the installation passed inspection.
Do not turn on a grid-connected system simply because the panels are producing voltage. A utility disconnect, approved inverter settings, and permission to operate are part of a safe interconnection. Net-metering credits also differ by utility and rate plan. A system that looks excellent under one credit structure can have a much longer payback under another.
I recommend calling the building department and utility before ordering equipment. Ask what homeowner-installed systems are allowed, which work requires a licensed electrician, whether engineering is required, and how long review typically takes. That twenty-minute call can prevent a pallet of incompatible hardware from occupying your garage.

A safer DIY project plan
Start with an energy audit, not a shopping cart. Seal obvious air leaks, improve attic insulation, and replace failing appliances before sizing solar. Every kilowatt-hour you eliminate is a smaller panel and inverter requirement. Then obtain at least two professional proposals, even if you plan to complete some work yourself. Their designs provide useful comparisons for production, equipment, roof attachments, and labor.
Next, create a written scope. Decide whether you are handling site measurements and trenching, while a licensed electrician handles the service-panel connection. Confirm equipment compatibility, warranty conditions, permit responsibility, inspection scheduling, and who fixes roof leaks. Keep photographs of concealed wiring, torque records, equipment serial numbers, and inspection documents. These records help with future repairs, insurance questions, and a home sale.
For diy solar panels for home, the best value is often a hybrid installation: you do the research, monitoring setup, attic access, and project coordination, while qualified professionals handle roof safety and energized electrical work. That arrangement preserves some DIY savings without pretending every task has the same risk.
How to judge the payback honestly
Calculate simple payback by dividing your net project cost by expected first-year bill savings, then account for degradation, rate changes, inverter replacement, and maintenance. If a $24,000 project saves $1,800 in its first year, the simple payback is about thirteen years before financing costs. A battery may improve outage resilience but make the financial payback longer. That is not a failure; it means you should label the benefit accurately.
Compare financing carefully. A low monthly payment can hide dealer fees, a long term, or an escalator in a power-purchase agreement. Cash pricing gives you the cleanest comparison. Also ask whether your homeowners insurance covers the array and whether your roof warranty has installation conditions.
The right system is not necessarily the largest one. It is the system that fits your roof, usage pattern, utility rules, and budget with documented safety margins. Start with measured consumption, use professional help where consequences are serious, and let the dashboard prove whether the upgrade performs. DIY enthusiasm is useful, but disciplined planning is what turns sunlight into dependable savings.


Letters
No letters yet — be the first to write.