The Garage Fridge That Needed a Brain
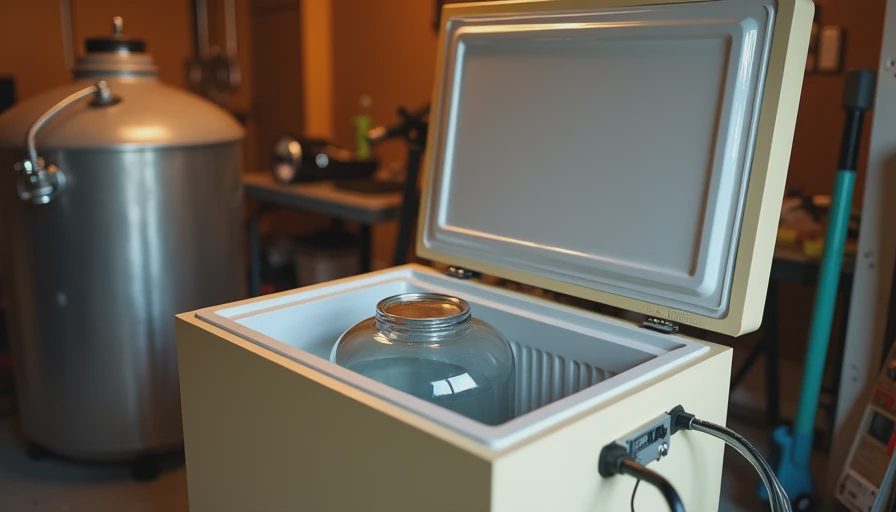
Home brewing in a Boise garage means living with temperature swings that yeast does not appreciate. Summer days climb. Winter nights drop. The old chest freezer I had converted into a fermentation chamber could keep things cold, but it had only one setting: too cold or not running. What I needed was a controller that could hold a tight temperature band, log the data, and let me adjust setpoints without standing in the garage with a screwdriver.
Home Assistant already ran the rest of the house. Adding a fermentation chamber felt like the obvious next integration rather than a separate gadget with its own app and its own failure modes.
This is the practical build—parts, wiring, automation logic, and the small lessons that turned a spare fridge into a reliable fermenter.
Your house should work for you, not the other way around. Sometimes that includes the yeast.
The Design Goals That Kept the Project Honest
I wanted three things:
Temperature control tight enough for clean fermentations (roughly ±1 °F once stable).
Visibility and logging on the same dashboards I already used.
Fail-safe behavior if Home Assistant or the network had a bad day.
I did not need remote start-up of a brew day from another state or fancy multi-stage profiles on day one. Those can come later. Reliable hold temperature and clear data were the minimum viable product.
The Hardware Stack
The chamber itself is a standard chest freezer with the original thermostat bypassed. Inside sits a temperature sensor (DS18B20 in a waterproof probe, later joined by a second sensor for redundancy) and a small circulation fan to keep the air from stratifying. The freezer compressor is switched by a heavy-duty smart plug / relay rated for the inductive load. A low-wattage heat source (a ceramic heating bulb or seedling mat, depending on the season) is switched by a second plug for the times when the garage is colder than the target.
Everything reports to Home Assistant via ESPHome or a native integration. The sensors update frequently enough for control without flooding the network. The two switched loads are simple on/off; the intelligence lives in the software.
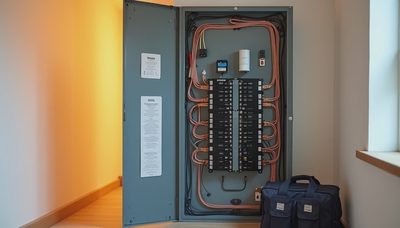
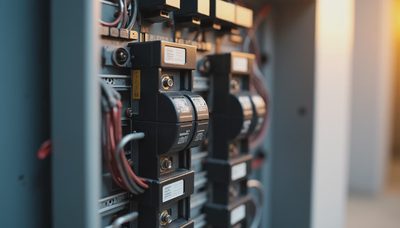
Power monitoring on the circuit was already available from the panel-level system, so I could see compressor runtime and heating runtime without extra hardware.
The Control Logic That Actually Works
The core automation is a simple hysteresis loop with a deadband. When the chamber temperature rises above the setpoint plus a small offset, cooling turns on. When it falls below the setpoint minus a small offset, cooling turns off and, if needed, heat turns on. A short minimum-off timer prevents the compressor from short-cycling.
I added a few practical guards:
A maximum runtime limit that forces a pause and sends a notification if the compressor has been running continuously longer than expected (possible door-ajar or sensor fault).
A “brew active” helper that must be on before the controller will drive the loads. This prevents the system from fighting me while I am cleaning or loading the chamber.
Soft temperature limits that disable both heat and cool and alert me if the chamber ever drifts outside a safe range.
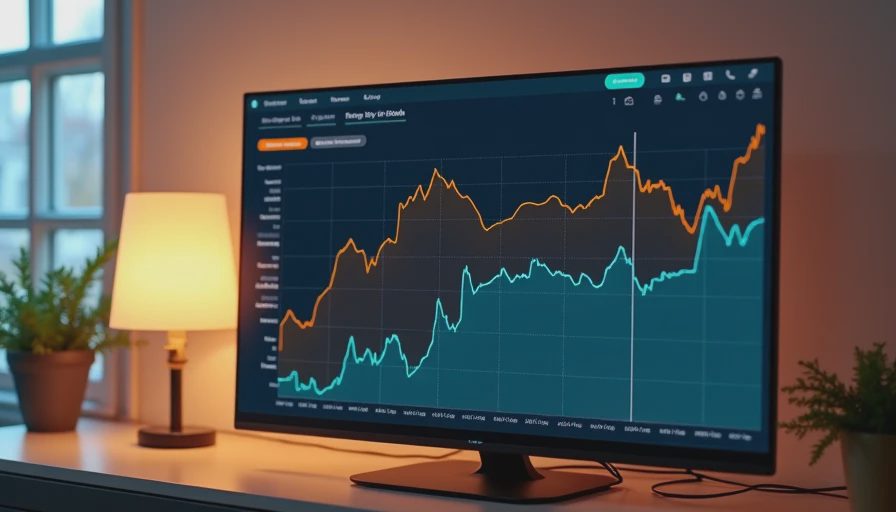
The same data that feeds the control loop is logged to the recorder and visualized on a simple Grafana panel next to the rest of the house energy data. Watching fermentation temperature sit flat while the garage temperature swings is still one of the more satisfying graphs on the wall.
Commissioning and the First Real Batches
The first week was spent tuning the deadband and the sensor placement. Too tight a band caused unnecessary cycling. Too loose a band let the temperature wander more than the yeast preferred. Sensor location mattered; a probe sitting in free air behaved differently from one taped to the side of a carboy or sitting in a thermowell.
Once the loop was stable, the first real fermentation ran without drama. Temperature held. The compressor duty cycle matched expectations. The heat source only kicked in on the coldest nights. Subsequent batches have been more about recipe and process than about fighting the chamber.
What I Would Change and What I Would Keep
I would still use Home Assistant as the controller rather than a standalone STC-1000 or similar. The visibility and the ability to adjust from the same interface as the rest of the house are worth the slight added complexity.
I would still insist on a physical fail-safe or at least a clear “brew active” interlock so a software glitch cannot leave the heater on indefinitely.
I would spend a little more time on cable management and strain relief from the beginning; garage temperature swings and occasional movement of the chamber make tidy wiring more important than it first appears.
The build has been one of the more contained and satisfying projects in the house. It solved a real problem, reused infrastructure I already trusted, and produced data that made the next batches better.
Your house should work for you, not the other way around. In the garage, that now includes giving the yeast a stable place to do their work while the rest of the systems keep the lights on and the bills honest.
Letters
No letters yet — be the first to write.