If you're juggling six different smart home apps and want one dashboard that actually runs your house, a Home Assistant setup Raspberry Pi is the smartest first move. I've run my own smart home on a Raspberry Pi for over a year — it's the best $75 I've spent on automation. Here's the hardware, install, and mistakes to avoid.
Why the Raspberry Pi Is the Right Home Assistant Platform
Home Assistant runs on everything from an old Intel NUC to a $200 mini PC. But the Raspberry Pi is the sweet spot for most homeowners. A Pi 4 with 4GB of RAM idles at about 3 watts, which works out to under $3 a year in electricity. A Pi 5 is faster, but you only need it for heavy add-ons like Frigate camera NVR. For most people, the Pi 4 is the pick.
I've also tested the Home Assistant Green, the pre-built box from the Home Assistant team. It's plug-and-play, but the Pi is more flexible. You can add an SSD, wire a PoE hat, or repurpose it later for another project. That's why I recommend the Pi to anyone who asks.
If you're planning to monitor your electrical panel with CT clamps or run a voice assistant pipeline, bump up to a Pi 5 with 8GB. It's about $80 with a case and power supply. The extra RAM keeps the web UI snappy when you have dozens of automations firing at once.
What You Need Before You Start a Home Assistant Setup Raspberry Pi
Here's the exact shopping list for around $75 to $110: a Raspberry Pi 4 with 4GB (about $45) or a Pi 5 with 8GB if you want extra headroom. Buy the official 15W USB-C power supply — a cheap charger causes random reboots and corrupts SD cards. Get a high-endurance microSD card (SanDisk High Endurance or Samsung Pro Endurance, 32GB or 64GB, around $10). A case with active cooling is $10 to $15, and a 10-foot Cat6 Ethernet cable is $6. That's everything.
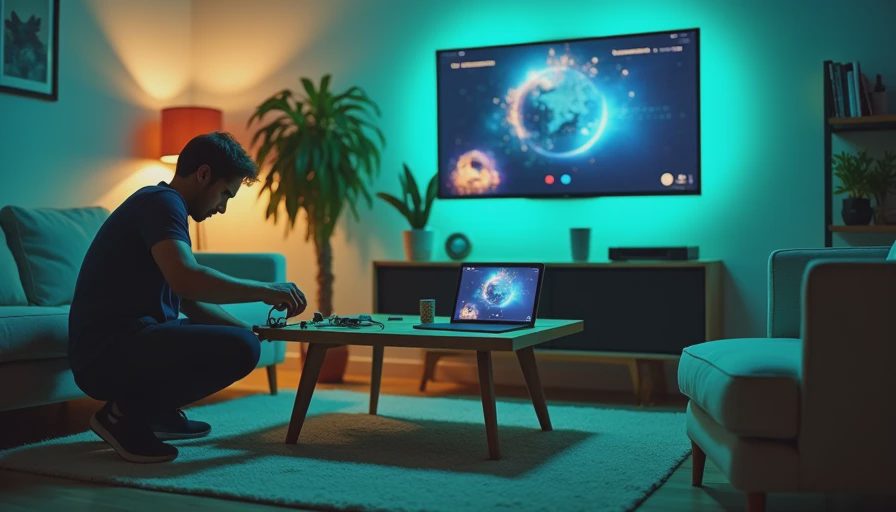
I recommend using a USB SSD instead of an SD card if you're comfortable spending $20 more. It's faster and lasts longer. You'll plug it into one of the Pi 4's blue USB 3.0 ports. Home Assistant doesn't care about the boot drive once it's flashed.
Step-by-Step Home Assistant Setup Raspberry Pi
Start with the Raspberry Pi Imager on your computer. Pick Other specific-purpose OS, then Home Assistant and Home Assistant OS. This official image is the right path — don't install Home Assistant on top of Raspberry Pi OS. Flash the microSD card, and click the gear icon to set up Wi-Fi and enable SSH before writing.
Put the card in the Pi, plug in power, and wait 3 to 5 minutes for the first boot. Open a browser to homeassistant.local:8123 (or your Pi's IP). Create a local account and name your home. Home Assistant then discovers devices on your network — Chromecasts, Hue bridges, and smart plugs. Add integrations right away.
Back up your configuration as soon as the first device is added. Go to Settings, System, Backups, and create a backup. You'll thank yourself when you break something later.
Getting Your First Devices Connected
Don't try to add every gadget on day one. Pick three zones you care about — my first were the porch lights, the bathroom exhaust fan, and the garage door. For Wi-Fi devices, search the integrations page for your brand: Tuya, TP-Link Kasa, Wemo, and Lutron Caseta all have official integrations. For Zigbee and Z-Wave, plug in a ConBee II or a Sonoff Zigbee 3.0 dongle ($25 to $35) and pair your devices. They work locally, with no cloud required.

Start with a simple automation after a few devices are in. Turn on the entryway light at sunset and off at 11 PM. This teaches you the automation editor and gives you immediate proof the system works. You'll be surprised how quickly you start imagining new automations.
Mistakes I Made So You Don't Have To
My first install had random reboots. I blamed Home Assistant, but a $7 phone charger from a drawer was the culprit. Buy the official power supply. My second mistake: pulling the microSD card while the Pi was running. I corrupted it and reinstalled. Use the built-in backup or the Google Drive add-on before touching anything. And be patient after flashing — the first boot takes five minutes. Most 'nothing happens' problems fix themselves.
One more miss: I added too many devices too quickly and overloaded the dashboard. Start with a few, confirm they work, then expand. A clean system is easier to debug than one with 40 devices and ten broken automations.
What Comes After the Home Assistant Setup Raspberry Pi Is Running
Once your Home Assistant setup Raspberry Pi is up, start with the energy dashboard. It tracks power usage if you have a smart meter or CT clamps. I built a Grafana dashboard called HouseOS, but you don't need that — the standard cards show what's eating electricity. Also set up automatic backups via Google Drive. And if you're thinking ahead, explore local voice assistants later. The goal today is a solid base.
From there, you can add presence detection, a smart thermostat, or even a custom fermentation chamber controller like the one I use for homebrewing. Just keep the changes incremental. A smart home that works day one beats a palace that takes six weekends to build.
Start small, watch your power supply, and let the automations grow. Your house should work for you, not the other way around.



Letters
No letters yet — be the first to write.