The home assistant wifi setup is the thing nobody talks about when they show off a smart home. You see the dashboard, the automations, the energy savings — but behind every responsive light switch and reliable sensor is a network that just works. As a former network engineer, I can tell you: the WiFi is where most smart home dreams go to die. In this guide, I'll walk through the exact home assistant wifi setup I use in my own 2,400 sq ft house, what it costs, and the mistakes I made so you don't have to.
Why WiFi decides whether Home Assistant feels magical or miserable
Home Assistant can run on a Raspberry Pi or an old mini PC, but the entire experience depends on how reliably devices talk to it. If your sensors drop offline every few hours, your automations fire late or not at all. You end up with a house that feels dumb, not smart. The problem is rarely the hub. It's the network.
Most off-the-shelf routers — the ones from your ISP or a $60 box at Best Buy — are built to stream video to a few phones and laptops. They're not built to hold 40 or 60 always-on devices, each pinging every minute. Add three smart speakers, a few cameras, thermostats, and door sensors, and you'll notice the degradation fast. The solution isn't always "more expensive mesh system." Sometimes it's a properly planned access point.
Here's the analogy I use with clients: your WiFi is the roads in your town. Home Assistant is the dispatch center. If every delivery truck has to stop at traffic lights, route around construction, and fight for space, nothing gets delivered on time. The fix is widening the right roads and putting the dispatch center near the highway.
My home assistant wifi setup hardware stack
I've tested a lot of gear. For my own house, I settled on an inexpensive but powerful approach: a TP-Link Omada ER605 router, an Omada OC200 controller, and two EAP225 access points. Total cost: about $180. That's less than a single high-end mesh node, and it gives me enterprise-grade reliability. The router handles the DHCP and firewall, the controller orchestrates the access points, and the two APs cover the whole house without dead spots.

Step-by-step: Setting up a home assistant wifi setup that stays stable
Let's walk through how I'd set this up in your house.
Step 1: Find the slowest device you own. It's probably an old 2.4GHz-only smart plug. That's your baseline.
Step 2: Don't let 2.4 and 5GHz share a SSID if you want predictable behavior. I give my smart home a separate SSID that lives on 2.4GHz only. It keeps stubborn devices from hopping bands and losing connection.
Step 3: Set a fixed channel. Auto channel is fine for old routers, but once you have multiple access points, you want to assign channels manually so neighbors' WiFi doesn't interfere. I use 1, 6, and 11 across the house.
Step 4: Disable band steering. Band steering is a feature that pushes devices to 5GHz when it thinks they can handle it. For battery-powered sensors, that's a recipe for disconnects. Keep those devices locked to 2.4.
Step 5: Turn off the WiFi on your ISP's modem/router combo. You don't want a second network fighting your setup. Put the modem in bridge mode.
Step 6: Set a static IP or DHCP reservation for Home Assistant. This makes sure the hub's address never changes, so integrations don't break when the lease expires.
That's the essential order. The first time I did this, I skipped Step 3 and paid for it with a week of random dropouts.
The mistakes I made in my own home assistant wifi setup
When I first moved Home Assistant to a dedicated machine, I left everything on a stock ISP router. Bad move. The router's connection table filled up and devices started getting kicked. Taryn (my wife) noticed because the kids' tablets buffered during movie night. The fix — moving to real hardware — took an afternoon.
My second mistake: trying to let every device join a combined 2.4/5GHz network. A brand new garage sensor would connect fine for a day, then silently drop. Separate the bands and life gets easier.
Third: forgetting to update the access point firmware. You'd think that's basic, but all three of my Omada APs had a patch that improved roaming. If you don't periodically check, you're leaving reliability on the table.
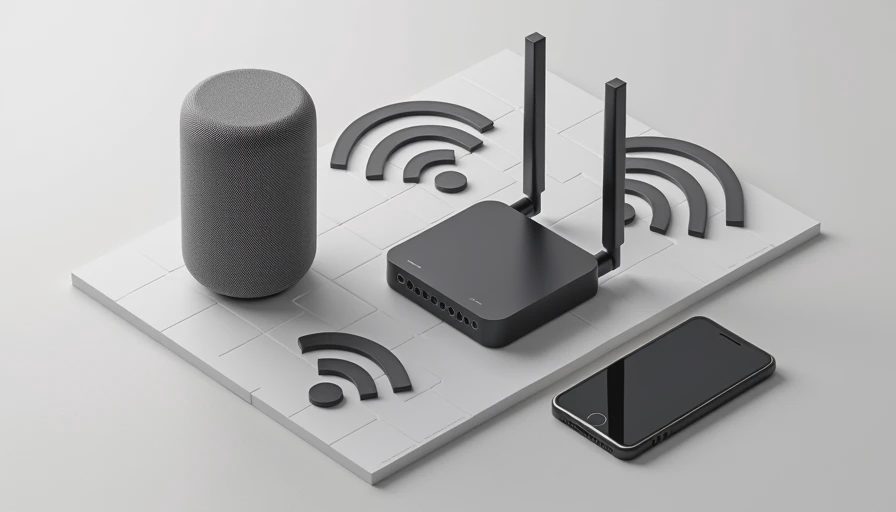
How much network do you really need? (and what it costs)
Let's talk money. The hardware stack I use — router, controller, two access points — runs about $180. Add another $40 if you want a ceiling-mount PoE access point. That's a one-time cost for a home assistant wifi setup that handles 60 devices without breaking a sweat. Compare that to the average mesh system at $300-$500, and the prosumer approach comes out ahead. You'll pick up some useful networking skills too.
If you already have an old router with guest networking, you can start for free: put all your smart home devices on the guest SSID, and isolate them from your laptop traffic. That's not as clean as real access points, but it's a legitimate first step.
Are you overcomplicating it?
Look, the goal isn't a network for network's sake. It's a house that responds when you ask. This network setup now runs 80 devices with a 99.9% uptime over the last year. That didn't happen by accident. It happened because I treated the WiFi like the infrastructure it is. Your house should work for you, not the other way around. If your automations feel flaky, start with the network — not with a new hub.



Letters
No letters yet — be the first to write.